Welcome to our comprehensive guide on how to check motorcycle clutch plates. If you’re a motorcycle enthusiast or an owner, understanding the health of your clutch plates is crucial for maintaining optimal performance and ensuring a smooth ride. In this guide, we’ll walk you through the step-by-step process of inspecting and evaluating your motorcycle clutch plates, helping you detect potential issues early and keep your ride in top-notch condition.
Why Checking Motorcycle Clutch Plates Matters
Your motorcycle’s clutch system plays a pivotal role in transferring power from the engine to the wheels. Over time, the clutch plates can wear out due to friction, heat, and usage, leading to diminished performance and potential breakdowns. Regularly checking your clutch plates can prevent costly repairs and ensure a safer and more enjoyable riding experience.
Tools You’ll Need
Before we delve into the inspection process, gather the following tools:
- Wrench set
- Screwdriver set
- Torque wrench
- Clean, lint-free cloth
- Safety goggles
- Work gloves
Step-by-Step Guide to Checking Motorcycle Clutch Plates
Step 1: Preparation
- Park your motorcycle in a well-ventilated and well-lit area.
- Put on your safety goggles and work gloves to protect yourself during the inspection.
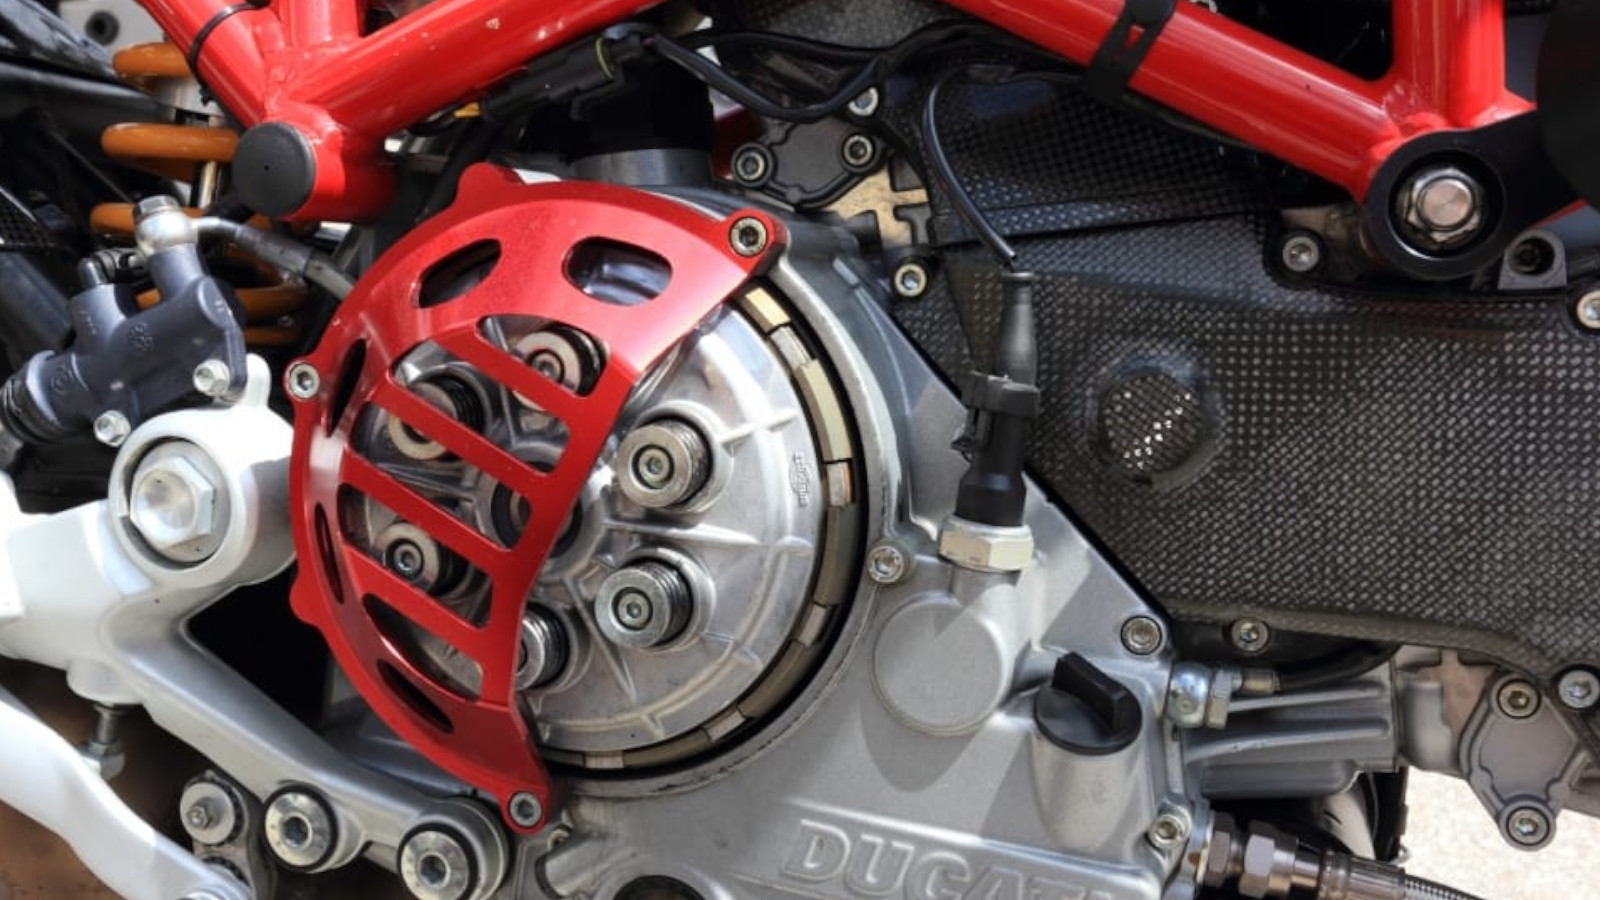
Step 2: Accessing the Clutch
- Use the appropriate wrench to remove the clutch cover from the engine.
- Carefully detach the clutch springs and bolts, keeping them in a safe place.
- Take out the clutch plates and separate them, arranging them in the order you remove them for easy reassembly.
Step 3: Visual Inspection
- Examine each clutch plate for signs of wear, such as grooves, discoloration, or warping.
- Measure the thickness of each plate using a caliper. Refer to your motorcycle’s manual for the recommended minimum thickness.
- Inspect the friction material on the plates. If it appears worn or damaged, it’s time for a replacement.
Step 4: Checking the Steel Plates
- Inspect the steel plates for signs of overheating, indicated by bluish discoloration.
- Measure the flatness of each steel plate using a feeler gauge. Any deviation from flatness could affect clutch performance.
Step 5: Reassembly
- Before reassembling, wipe each plate with a clean, lint-free cloth to remove dirt and debris.
- Follow the reverse order of disassembly to put the clutch plates back in place.
- Torque the bolts to the manufacturer’s specifications using a torque wrench.
Step 6: Testing
- Start your motorcycle and engage the clutch to ensure smooth operation.
- Test the clutch engagement and disengagement by shifting through the gears while stationary.
When to Seek Professional Help
If you encounter any of the following issues during your inspection, it’s advisable to seek professional assistance:
- Excessive wear on clutch plates
- Warped or damaged steel plates
- Unusual noises or vibrations during clutch engagement
- Difficulty shifting gears
- Slippage or lack of power transfer
Conclusion
Regularly checking your motorcycle clutch plates is a simple yet crucial maintenance task that can extend the life of your bike and enhance your riding experience. By following our step-by-step guide, you can confidently inspect and assess the health of your clutch plates, ensuring that your motorcycle performs at its best.
Discover more from Wheels Craze - Automotive News, EV News, Car News, Bike News
Subscribe to get the latest posts to your email.