Welcome to our in-depth guide on how to check a motorcycle brake light switch. Whether you’re a seasoned rider or just starting out, ensuring your motorcycle’s brake light switch is functioning properly is crucial for your safety on the road. In this comprehensive guide, we’ll walk you through the step-by-step process of checking and diagnosing issues with your motorcycle’s brake light switch.
Understanding the Importance of a Brake Light Switch
Before we dive into the details of checking the brake light switch, let’s take a moment to understand why it’s so important. The brake light switch is a small yet vital component of your motorcycle’s braking system. It’s responsible for detecting when you apply the brakes and then activating the brake lights to alert other drivers behind you. A malfunctioning brake light switch can lead to dangerous situations, as other drivers won’t be able to anticipate your stops.
Tools You’ll Need
Before we begin the process, make sure you have the following tools at your disposal:
- Wrench set
- Multimeter
- Safety goggles
- Owner’s manual
- Assistant (optional, but recommended)
Step-by-Step Guide to Checking the Brake Light Switch
Step 1: Safety First
Always prioritize safety when working on your motorcycle. Ensure you’re in a well-ventilated area, wearing appropriate safety gear, and the motorcycle is securely placed on a stable surface.
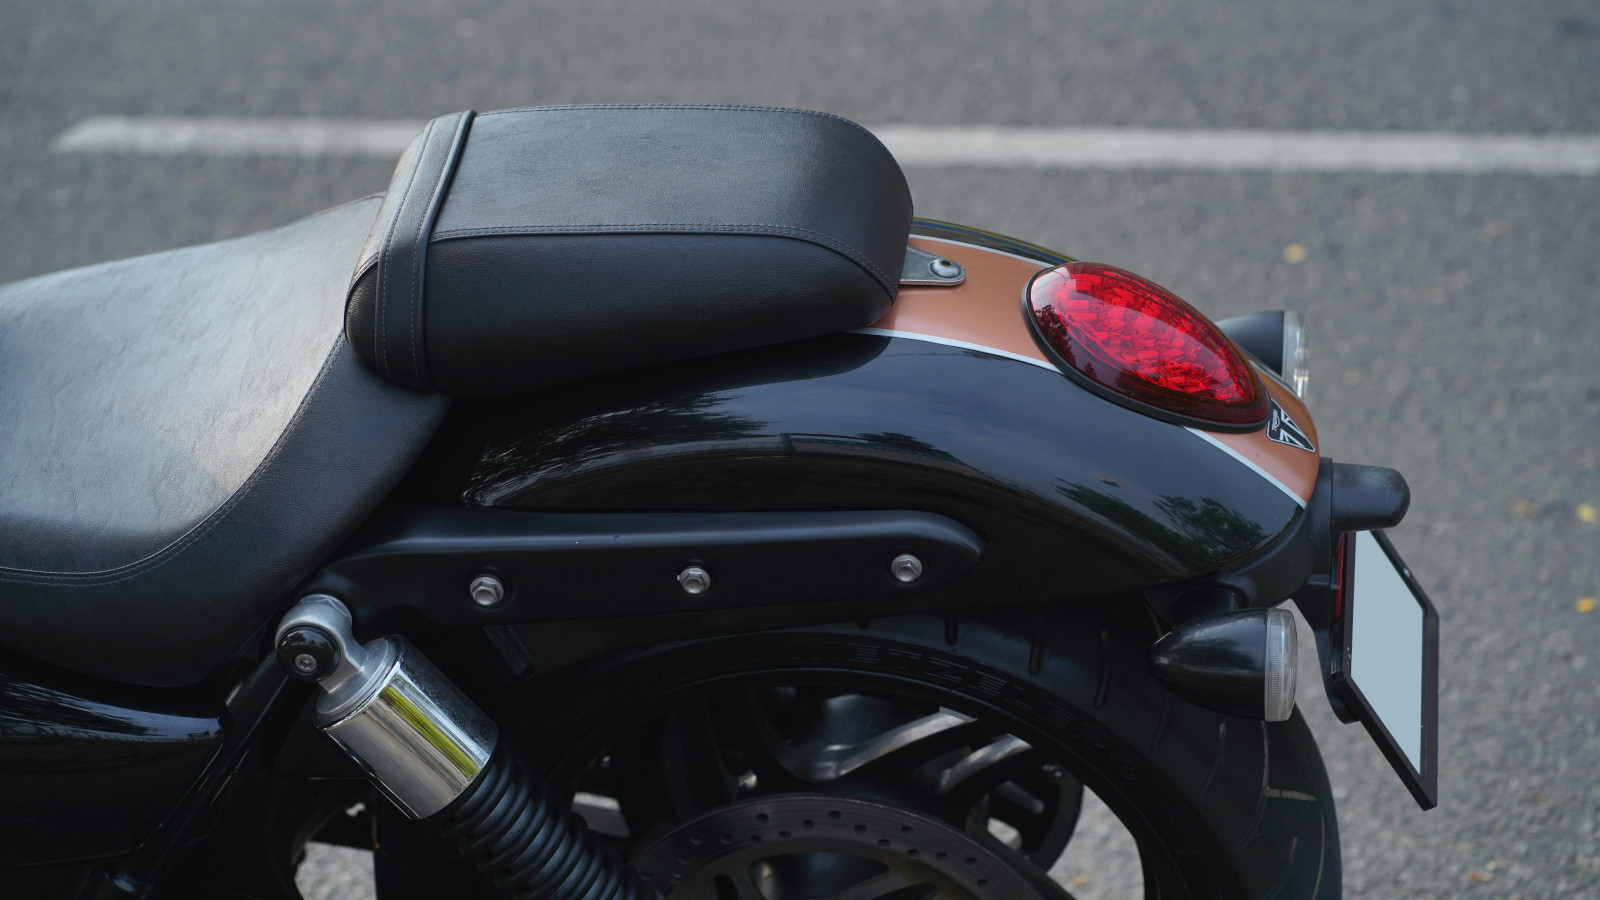
Step 2: Locate the Brake Light Switch
Consult your motorcycle’s owner’s manual to find the exact location of the brake light switch. In most cases, it’s located near the brake lever or pedal.
Step 3: Access the Brake Light Switch
Carefully remove any panels or covers that may be obstructing access to the brake light switch. This may require using a wrench set.
Step 4: Test the Brake Lever/Pedal
Gently squeeze the brake lever or press the brake pedal. Ask your assistant (if available) to observe whether the brake lights illuminate when you apply the brakes. If they don’t, it’s a strong indication of a faulty brake light switch.
Step 5: Using a Multimeter
If the brake lights don’t illuminate, it’s time to use a multimeter to test the brake light switch for continuity. Set your multimeter to the continuity or resistance mode, and then touch the probes to the terminals of the switch. If there’s no continuity when the brake lever/pedal is activated, the switch may need to be replaced.
Step 6: Replacing the Brake Light Switch
If the test confirms a malfunctioning brake light switch, it’s time to replace it. Order a new switch from a reputable motorcycle parts supplier, following the specifications in your owner’s manual.
Step 7: Installation
Carefully install the new brake light switch in the reverse order of removal. Make sure it’s securely in place and all panels or covers are reattached.
Step 8: Final Testing
With the new switch installed, perform another test by applying the brakes and observing the brake lights. If they now illuminate as they should, congratulations – you’ve successfully checked and replaced the brake light switch!
Regularly checking your motorcycle’s brake light switch is a simple yet crucial task for ensuring your safety on the road. By following our comprehensive guide, you can confidently diagnose issues, replace a faulty switch, and have your brake lights functioning perfectly.
Remember, proper maintenance of your motorcycle’s components, including the brake light switch, contributes to a safe and enjoyable riding experience. Stay vigilant, prioritize safety, and always address any potential issues promptly.
Discover more from Wheels Craze - Automotive News, EV News, Car News, Bike News
Subscribe to get the latest posts to your email.