Washing your own car at home can be both cost-effective and satisfying. It not only helps maintain the appearance of your vehicle but also protects the paint and finish from potential damage caused by dirt, grime, and environmental contaminants. While many car owners opt for professional car washes, doing it yourself allows for better attention to detail and the use of gentle techniques that protect your car. In this step-by-step guide, we’ll walk you through the essential steps to give your car a thorough wash at home, using basic tools and cleaning products. With a little effort, you can keep your car looking shiny and new for years to come.
Step 1: Gather the Necessary Tools and Supplies
Before you begin, it’s essential to have the right tools and materials ready. Here’s what you’ll need:
- A bucket
- A hose with a nozzle
- Car shampoo (avoid household detergents)
- Microfiber wash mitt or sponge
- A soft-bristle brush for tires
- A wheel cleaner
- Drying towels (microfiber or chamois)
- Wax (optional)
Using proper car-specific cleaning products ensures that you won’t damage your car’s paint or surfaces. Household cleaning products can strip the wax or damage the clear coat, so invest in quality car shampoo.
Step 2: Park in a Shaded Area
Before you start washing, move your car to a shaded area, preferably away from direct sunlight. Washing a car in direct sunlight can cause the soap and water to dry too quickly, leading to streaks and water spots on the surface. A shaded spot will help prevent this and make the process more manageable.
Step 3: Pre-rinse Your Car
Start by giving your car a thorough rinse with water using a hose. This will help remove loose dirt, debris, and dust from the surface, making the washing process easier and reducing the chances of scratching the paint. Focus on areas that tend to accumulate more grime, such as the wheel wells and the lower sections of the car.
Step 4: Clean the Wheels and Tires
Cleaning your car’s wheels and tires before the body helps avoid transferring grime from the dirtiest parts of your car to cleaner areas. Use a separate bucket, wheel cleaner, and a soft-bristle brush. Apply the wheel cleaner generously and scrub the tires and rims, removing brake dust and grime. Rinse the wheels thoroughly once you’re done, ensuring all dirt and cleaning products are washed away.
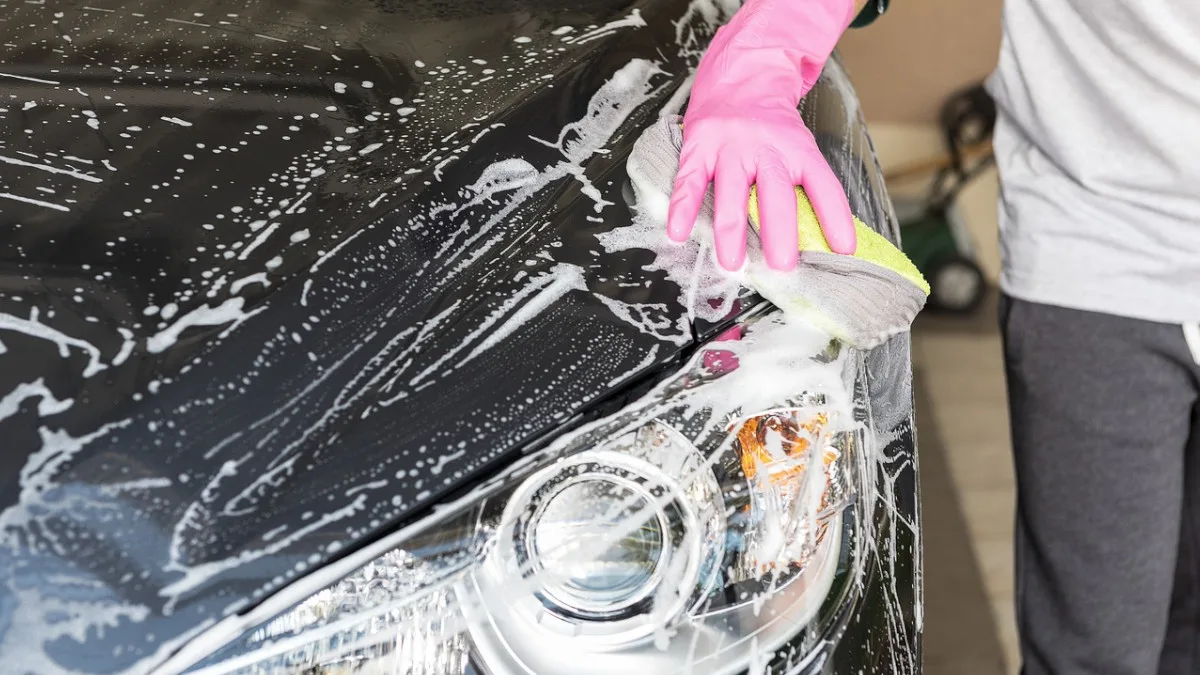
Step 5: Wash the Car Body with Two-Bucket Method
Using the two-bucket method is one of the safest ways to wash your car without causing scratches. Fill one bucket with clean water and another with soapy water mixed with car shampoo. Dip your microfiber mitt into the soapy water and gently wash one section of the car at a time, starting from the top and working your way down. After washing each section, rinse your mitt in the clean water bucket to remove dirt before dipping it back into the soapy water.
Use gentle, straight motions when washing the car instead of circular motions, as this helps prevent swirl marks on the paint. Be sure to pay attention to high-contact areas like door handles, mirrors, and the front grille.
Step 6: Rinse the Car Thoroughly
Once you’ve washed the entire car, it’s time to rinse. Start at the top and work your way down, ensuring all soap and suds are rinsed off completely. It’s important not to leave any soap residue on the surface as it can cause streaking or leave marks.
Step 7: Dry the Car Properly
After rinsing, dry the car using a clean, soft microfiber towel or chamois. Drying your car prevents water spots from forming as the water evaporates. Pat the surface dry rather than wiping to avoid scratching the paint. For the best results, work in sections, drying each part before moving on to the next. Don’t forget to open the doors and dry the door sills.
Step 8: Apply Wax (Optional)
If you want to take your car cleaning a step further, applying wax can give it a glossy finish and protect the paint from UV rays, dirt, and moisture. There are different types of wax, such as paste, liquid, or spray, so choose the one you’re most comfortable with. Follow the manufacturer’s instructions on the wax product and use a microfiber cloth to apply it evenly. Buff the wax off once it dries for a shiny, protective layer.
Step 9: Clean the Windows and Mirrors
The final step in washing your car is to clean the windows and mirrors. Use a glass cleaner specifically designed for automotive use and a microfiber towel to wipe down all the glass surfaces. Make sure to clean both the inside and outside of the windows for a streak-free finish.
Final Tips:
- Always wash your car in a shaded area to avoid water spots.
- Use microfiber towels and mitts as they are gentle on the car’s paint.
- Avoid using household cleaning products like dish soap, which can strip away wax and damage the paint.
- Rinse your tools frequently to avoid scratching the car with trapped dirt.
By following these steps, you can keep your car looking pristine while ensuring that you’re maintaining its finish for the long haul. Regular car washing not only enhances its appearance but also helps preserve its value over time.
Discover more from Wheels Craze - Automotive News, EV News, Car News, Bike News
Subscribe to get the latest posts sent to your email.