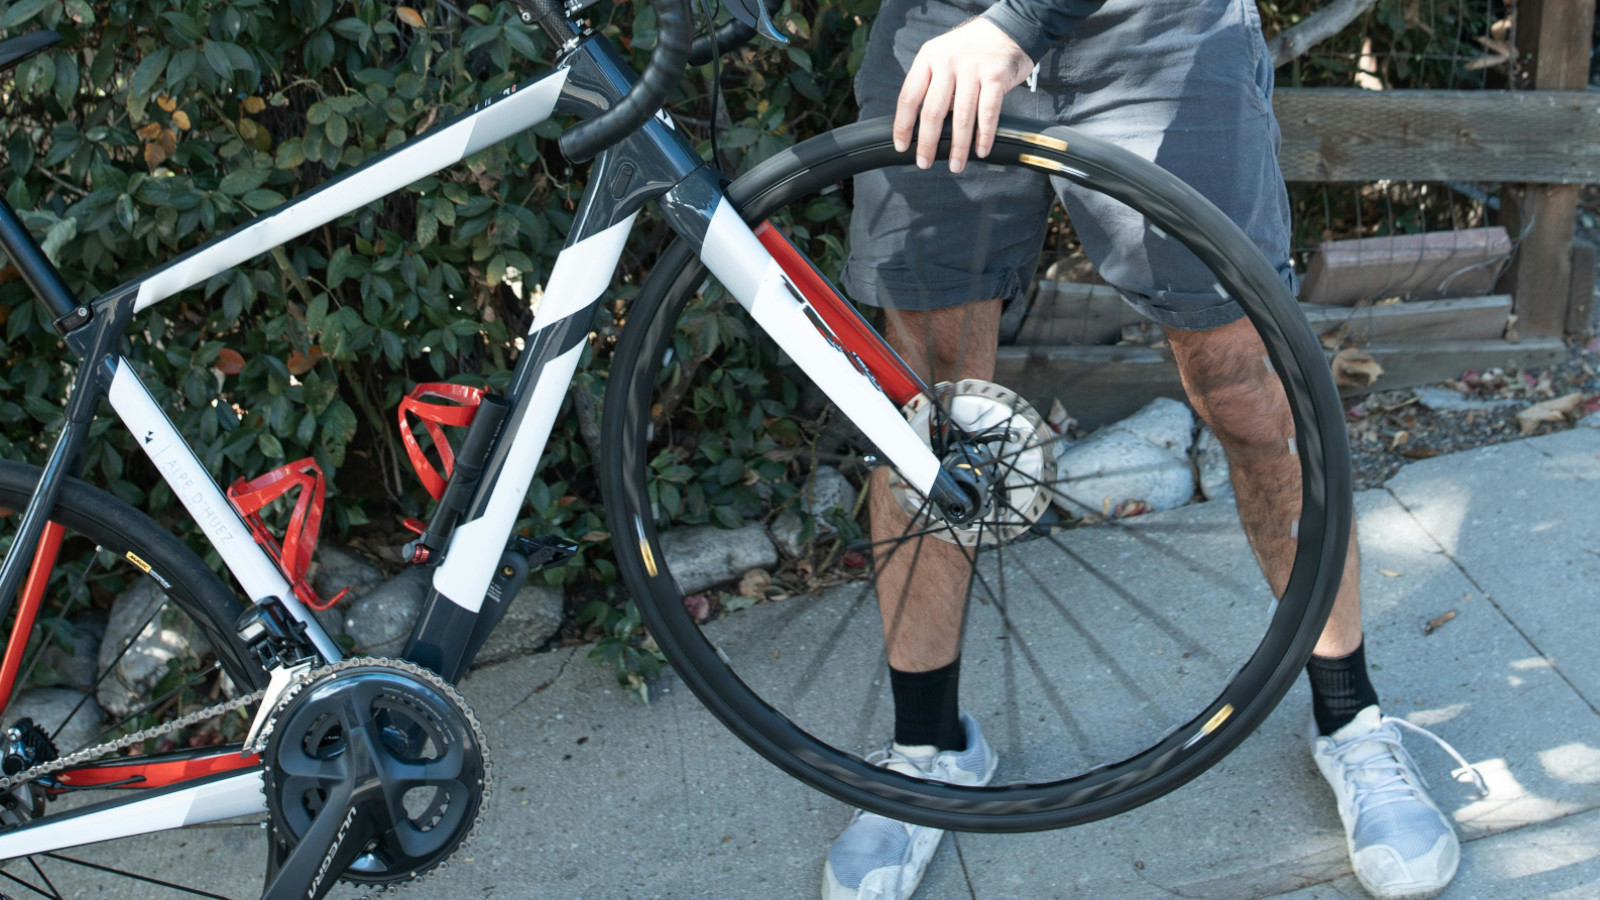
A well-maintained bicycle chain is essential for a smooth and efficient ride. Over time, bicycle chains can wear out and stretch, leading to poor performance and potential damage to your bike’s drivetrain. Knowing how to measure and replace a bike chain is a valuable skill for any cyclist. In this article, we’ll walk you through the process step by step.
Why It’s Important to Replace Your Bike Chain
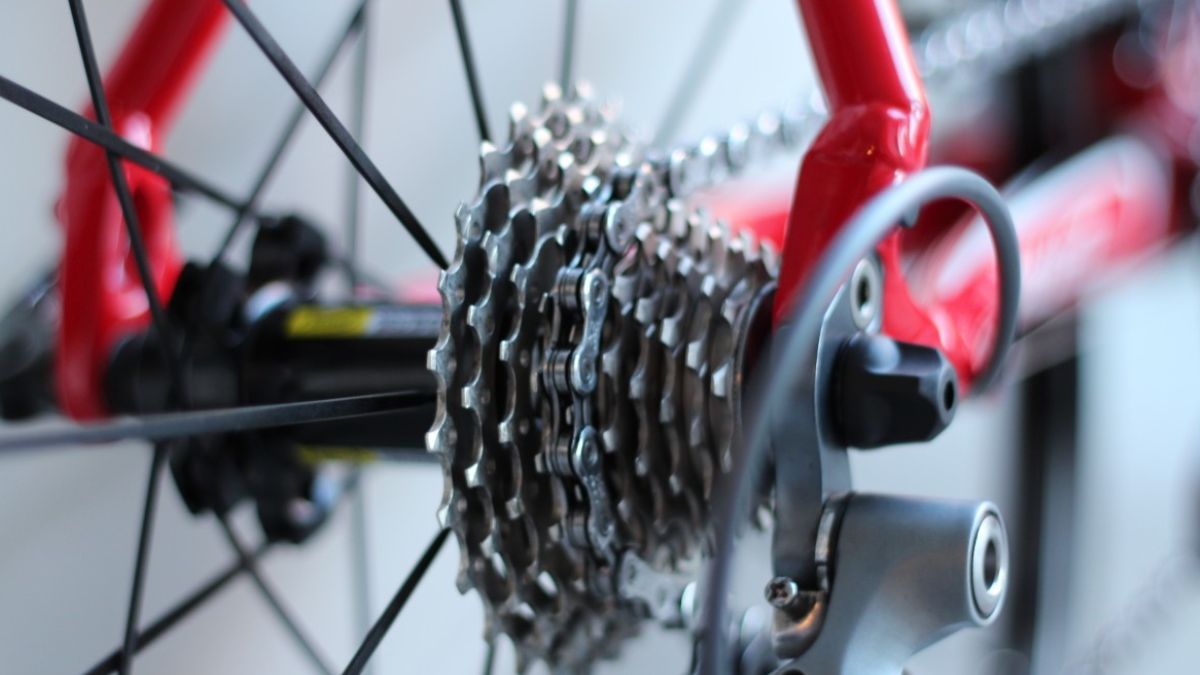
A bike chain is a critical component of your bicycle’s drivetrain. It’s responsible for transferring the power from your legs to the wheels, allowing you to move forward. Over time, chains can stretch, wear down, and develop kinks or bent links, which can result in poor shifting, reduced efficiency, and even damage to your gears and cassette. Replacing your chain when it shows signs of wear is essential to maintain your bike’s performance and prevent costly repairs down the road.
Measuring Chain Wear
Before replacing your bike chain, you should check if it needs replacement. Chains typically stretch and wear over time, and a chain wear indicator tool is an excellent tool for this job. However, you can also use a simple ruler as a rough estimate.
Here’s how you can use a ruler to check chain wear:
-
Shift your chain onto the smallest chainring in the front and the smallest cog in the rear.
-
Find the zero-inch mark on your ruler and align it with the center of a chain pin.
-
Measure 12 inches (or 12 full links) along the chain, making sure the chain is straight during measurement.
A new chain should measure exactly 12 inches. If your chain is worn, it will measure more than 12 1/16 inches, indicating that it’s time for a replacement.
Alternatively, you can use a chain wear indicator tool, which will give you a precise measurement of chain wear. If it indicates that your chain is stretched beyond its acceptable limit, it’s time to replace it.
Gathering the Necessary Tools
Before you begin the replacement process, gather the following tools and materials:
-
New bike chain: Make sure to get the right type of chain for your bike (e.g., 10-speed, 11-speed, etc.).
-
Chain tool: A chain tool is essential for breaking the old chain and sizing the new one.
-
Chain wear indicator (optional): To accurately assess chain wear.
-
Pliers: These can be helpful for removing the old chain and connecting the new one.
Replacing the Bike Chain
Now, let’s go through the steps to replace your bike chain:
-
Shift to the smallest chainring in the front and the smallest cog in the rear. This relieves tension on the chain.
-
Using your chain tool, remove the old chain. Place the chain tool on a chain pin and turn it counterclockwise to push the pin out. Once the pin is partially out, you can use pliers to pull it the rest of the way.
-
Size the new chain to the correct length. Wrap the new chain around the largest chainring in the front and the largest cog in the rear. Add two links (one inch) to the length, then use your chain tool to break the chain at this point.
-
Thread the new chain through the rear derailleur, making sure it’s correctly routed through the jockey wheels and guide pulley.
-
Join the ends of the chain using a quick link (if your chain uses one) or by using the provided chain pin. Follow the manufacturer’s instructions for connecting the chain, as this may vary depending on the chain brand.
-
Once the chain is connected, shift through all your gears to ensure smooth operation. Make any necessary adjustments to the front and rear derailleurs to ensure proper shifting.
-
Lubricate the new chain with bike-specific chain lubricant.
-
Use a rag to wipe off any excess lubricant and clean the chain.
With your new chain in place, your bike should now perform better and provide a smoother ride.
Knowing how to measure and replace a bike chain is a valuable skill for every cyclist. Regular maintenance and replacement of your bike chain can help prolong the life of your drivetrain and ensure a more enjoyable and efficient ride. By following these steps and using the right tools, you can keep your bicycle in top condition and avoid the inconvenience of a worn-out chain during your next ride.
Discover more from Wheels Craze - Automotive News, EV News, Car News, Bike News
Subscribe to get the latest posts to your email.